
Knowing when compost is genuinely ready, and applying it correctly to each crop, is where all the earlier work pays off. Used well, finished compost is the foundation of soil fertility for years to come -- used carelessly, even good compost can cause problems like forked roots or leggy growth.
Is It Ready?
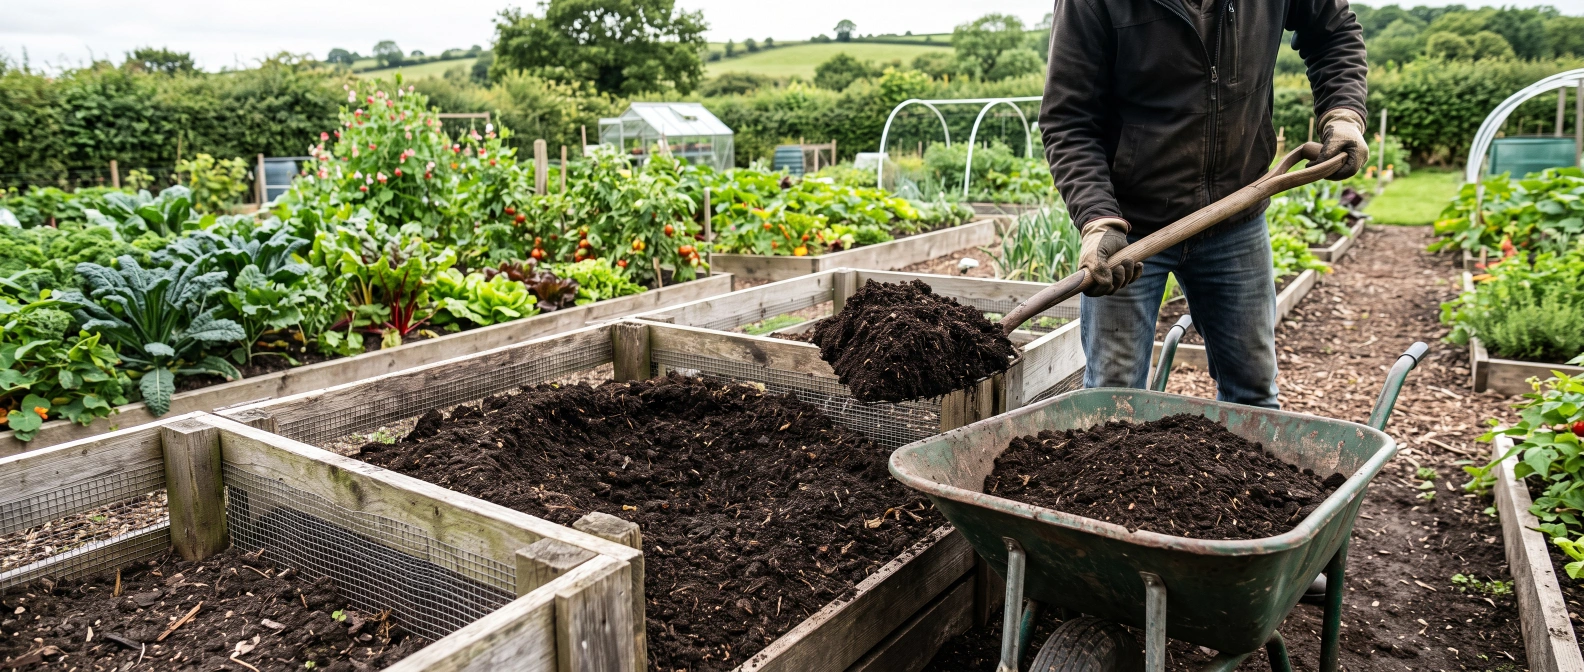
Finished compost should:
- Smell earthy and pleasant, like woodland soil after rain.
- Be dark brown to black in colour throughout.
- Have no identifiable original materials except perhaps a few woody fragments.
- Feel crumbly and moisture-retentive but not wet or slimy.
- Show no significant heat when you push your hand into it.
- Contain numerous earthworms (a very good sign in temperate systems).
Application Rates and Methods by Crop
| Crop Type | Application Method | Rate / Timing | Notes |
|---|---|---|---|
| Brassicas (cabbage, kale, etc.) | Dig in or surface mulch | One barrowload per m²; autumn or early spring | Heavy feeders; benefit most from rich finished compost |
| Root vegetables (carrots, parsnips) | Dig in previous autumn; not fresh compost | Well-rotted only; 6+ months before sowing | Fresh compost causes forking; use old compost or adjacent beds |
| Alliums (onions, leeks, garlic) | Surface mulch or light dig-in | Moderate rates; autumn application | Add wood ash too for potassium and pH adjustment |
| Legumes (beans, peas) | Minimal compost needed; fix their own nitrogen | Light surface dressing only | Over-rich soil causes leafy growth at expense of pods |
| Cucurbits (courgette, squash) | Planting hole fill or mound system | Very generous; plant into pure compost mounds | Ideal use of partially finished compost, very hungry feeders |
| Potatoes | Trench or layer under sets | One full barrowload per 3m row at planting | Good use of leafmould mix; seaweed compost excellent here |
| Salad leaves & herbs | Fine surface dressing or potting mix addition | Light dressing; avoid overly rich mixes | Sieved fine compost best; can be mixed with soil 1:3 |
| Fruit trees & bushes | Surface mulch ring around drip line | 5-10cm deep; autumn or early spring | Safest use of partially processed humanure compost |
| General bed improvement | Dig in or no-dig surface layer | 5cm surface layer each autumn | Foundation of no-dig system; builds soil structure over years |
The No-Dig Surface Application
The simplest and increasingly popular approach: apply a 5cm layer of finished compost to the surface of all beds each autumn. Do not dig it in. Worms and soil biology will incorporate it naturally over winter and spring. It builds soil structure, suppresses weeds, and feeds the ecosystem without the disruption of digging -- covered in full in the next-but-one chapter, The No-Dig Approach.
Frequently Asked Questions
How can I tell if my compost is actually finished?
Finished compost smells earthy and pleasant, like woodland soil after rain, is dark brown to black throughout, and has no identifiable original materials except perhaps a few woody fragments. It feels crumbly and moisture-retentive but not wet or slimy, shows no significant heat when you push your hand in, and often contains numerous earthworms -- a very good sign in temperate systems. If it smells wrong, still contains visible undecomposed material, or feels hot, return it to the heap.
Why shouldn't I use fresh compost on carrots and parsnips?
Fresh or only partly rotted compost causes root vegetables like carrots and parsnips to fork and split as their roots meet pockets of undecomposed material. Only well-rotted compost, at least six months old, should go anywhere near a root vegetable bed -- ideally dug in the previous autumn rather than at sowing time.
What's the simplest way to apply finished compost to my beds?
The no-dig surface application: spread a 5cm layer of finished compost over the surface of all beds each autumn and leave it there rather than digging it in. Worms and soil biology incorporate it naturally over winter and spring, building soil structure and suppressing weeds without the disruption of digging. It's covered in full in the next-but-one chapter, The No-Dig Approach.