
Every batch of finished compost in this climate has taken real, deliberate effort to produce -- watched, watered and protected against drying out at every stage. That makes how you use it just as important as how you made it. This chapter covers knowing when it's ready, and putting it exactly where it does the most good.
Knowing When It's Ready
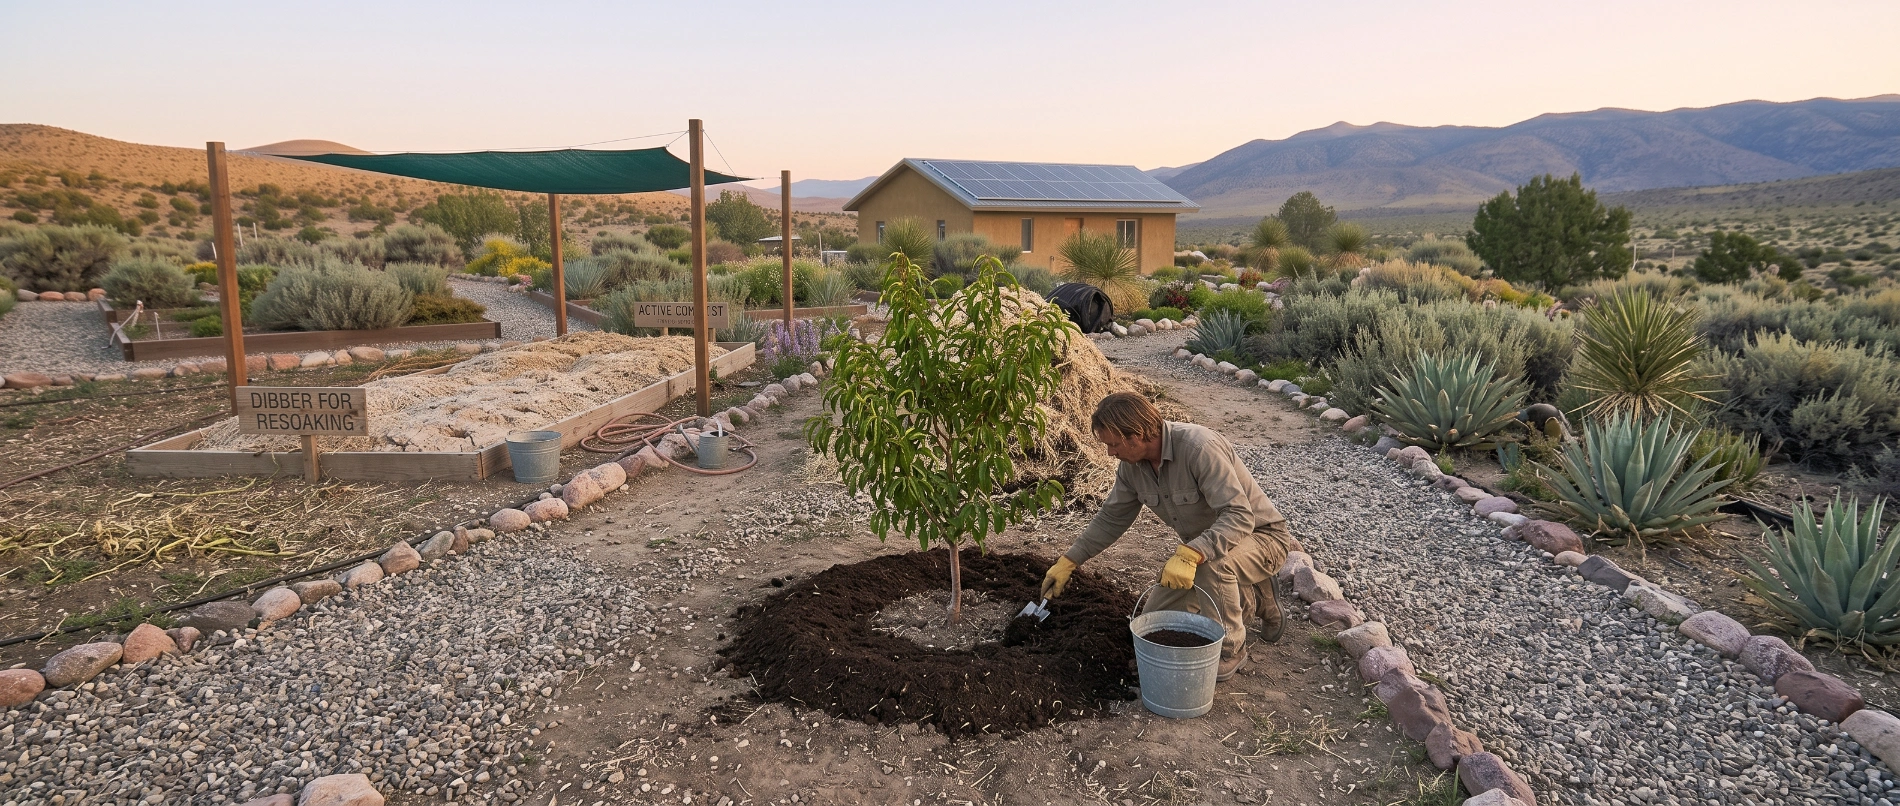
The signs of finished compost are the same the world over, whatever climate produced it: it's dark, crumbly and smells like rich earth rather than anything sour or rotten, and none of the original inputs, whether manure, kitchen scraps or dry plant matter, should still be recognisable as what they started out as. The real difference here isn't the finished product, it's the journey to it -- getting a heap through months of heat and dryness without it stalling.
Mulch and Top-Dress Rather Than Dig In
Wherever practical, spread finished compost on the soil surface as a mulch or top-dress rather than digging it in. This avoids disturbing soil structure, and critically, a surface layer of compost also helps the soil beneath it hold onto moisture rather than losing it to evaporation, which ties directly into the no-dig approach covered in full in Chapter 18. It's also simply the lower-effort option, which counts for something after all the work that went into producing the compost in the first place.
Make Every Litre Count
When compost is genuinely scarce, resist the urge to spread it thin across everything. Concentrate it instead on the areas that give the most return: direct-sown vegetable beds, which depend heavily on good soil to establish, and fruit trees, which repay a good feed for years to come. Anything left over after those priorities can go further afield.
For transplants and young trees, mixing compost directly into the planting hole is one of the most water- and compost-efficient techniques available -- it places a concentrated dose of fertility and moisture-holding capacity exactly where the developing roots will reach it, rather than diluting it across soil the roots won't touch for a long time, if ever.
Sieved vs. Unsieved Compost
Sieve a portion of finished compost through a coarse mesh for a fine, even seed-starting mix, and keep the coarser material that doesn't pass through the sieve for use as mulch, where texture matters far less than bulk. This way nothing is wasted and every batch does double duty. Biochar, if you're producing it (see Chapter 9), is often blended in at this same stage, right before the compost goes out onto beds or into planting holes.
Frequently Asked Questions
How do I know when compost is actually ready to use?
Finished compost is dark, crumbly and smells like rich earth rather than anything rotten or sour, and none of the original materials should still be recognisable as what they started out as. These signs hold true in every climate, this one included -- the only real difference here is how much watchfulness it took to keep the heap active long enough to reach that point.
Should I dig compost in or spread it on top of the soil?
Spread it on top as a mulch or top-dress wherever you can, rather than digging it in. Surface application avoids disturbing soil structure and moisture, and it directly helps the soil beneath retain water, which digging tends to work against. It's also simply less effort, which matters when every batch of compost has taken real work to produce.
I don't have much compost -- where should it go first?
Concentrate it on your highest-value growing areas rather than spreading it thinly everywhere. Direct-sown vegetable beds and fruit trees give the most return on a limited supply, and mixing compost directly into a planting hole for a transplant or a young tree delivers a concentrated dose exactly where the roots need it, which is far more water- and compost-efficient than a thin scatter across a whole bed.